
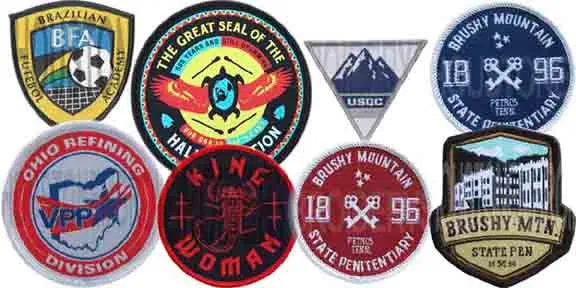
Lots of people search on the web "custom patches near me" they intend to discover an embroidery store that can help them make their artwork.
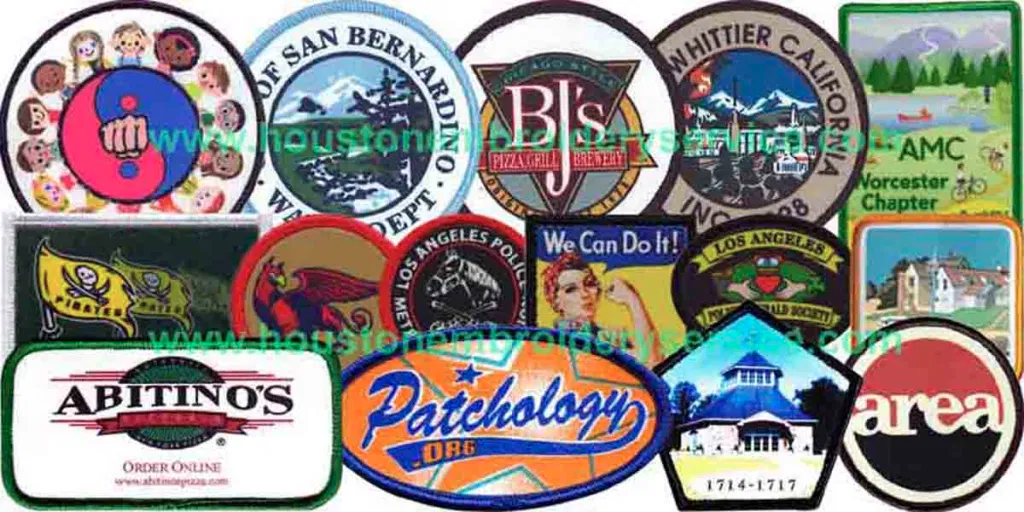
Whether you are a mom-and-pop store or run a huge firm, you ask the very same inquiry: what can i do to make each style look its ideal? The majority of layouts are not produced with embroidery in mind, with information like small kind and outlines producing difficult job. Below are a couple of suggestions for dealing with these barriers:
Tiny lettering
There's no other way of getting around it, at some time in time you are going to have to take care of tiny lettering. Tiny text is usually lettering less than 1/4 inch. If you have a style that has lettering this little, after that you have a couple of options:
1. Change needle and string
The market requirement is 40-weight string and also a 75/11 needle. The size of 40-weight string is roughly.4 mm, which is why the default density of stitches is.4 mm. But with the brief height of tiny letters, this default creates an issue. It means it takes just a few lines to reach the elevation of the small letters, which can make the lettering look rugged. Even making the letters denser will not make it look cleaner. Initially, it will certainly include in the press of the letters, making the letter "i" look longer than the letter "e". Second, it can cause looping of the thread. Third, it can make holes in the garment. Actually, with smaller lettering, the guideline is to make it slightly much less thick.
That is where 60- and 70-weight string enters into play. You should also change the needle to a smaller size. When i digitize for 60-weight thread, i change the density or spacing in the letter. I increase the density about 20 percent. The smaller needles and thread permit you to enhance the thickness with less fear of putting openings in the garment.
2. Run stitches
As opposed to satin stitches, attempt run or hands-on stitches. It takes some method to obtain run sew lettering to look great, yet it can be done. Run sew text is typically a double run stitch in which you begin at one factor, most likely to the end and also come back on the same stitch. If you can startle the stitches so the factors do not fall on themselves, the lettering will certainly look much better. Pick a factor that can conceal the linkups and tie-offs much better, such as the random sample of a "t". An additional idea is to make some vertical strokes, such as those in "i" s as well as "a" s be taller than letters such as "e" s. Because of the vertical grain of textile, "i" s as well as "a" s are mosting likely to sink. Making them taller will neutralize the sinking.
3. Stack lettering
Among the easier choices is to take one lengthy line and stack it up in two or three lines and also enlarge it up until it reaches the wanted dimension. I would suggest doing a harsh simulated up for the consumer to look at prior to going ahead with this kind of change.
4. Tone on tone
Suppose the customer demands a tagline that is 1/8 inch tall and also must remain in satin stitch, as well as you do not have tiny needles or string? Try suggesting the tagline to be tonal (a color darker or lighter than the garment.) This will make the letters clear, while assisting to hide unpreventable imperfections.
Slim outlines
I come across a great deal of designs that have a ton of slim lays out and also information. While this is simply great for the majority of printing, it won't benefit embroidery. In many cases you will not have the ability to use satin stiches so you are restricted to run stitches or dual run stitches. It is instead difficult to catch fills with run stitches. Check out your layout as well as see if the outlines can be partly or totally went down. Possibly utilize different stitch direction and fill to get the information as opposed to count on describes.
Way too many outlines
Too much lays out can develop many complica ¬ tions. For example, when you have 2 satin stitch lines against each other they have a tendency to adjoin as well as shed their clarity. If the outlines are large sufficient, then you can just transform the padding to border run or transform the angle of among the details.
There likewise is an opportunity of numerous details not looking even. They can move or move outdoors or under the following rundown. This is going to occur more often with performancewear because of the stretch ¬ iness of the material, and with hats as a result of the lack of stabil ¬ ity with the hooping frameworks.
Try reducing the number of lays out, or make them thicker. Thin details are going to have a harder time looking tidy and alsoalso.
Blends
Load stitches are best for blends, yet they have restrictions. Fill stitches have more needlepoints, so they do not function well in narrow thin areas. Add one more layer for the 2nd shade, and also you have even more needlepoints. Likewise, instructions is a problem. One-directional blends work best. Radial blends, although they can be done, are much more challenging to achieve, so irecom-mend refraining radial blends in many cases.
The much better you comprehend you and also your embroiderer's capabil ¬ ities, the less frustrations you will have in the future. Review with your client exactly how a logo design might require some changes for the best feasible look. Tell them that small letter ¬ ing may be a concern which the less outlines the much better, as well as explain several of the alterna ¬ tives. Letting the customer recognize the difficulties before the reality saves money and time and also results in a better consumer.