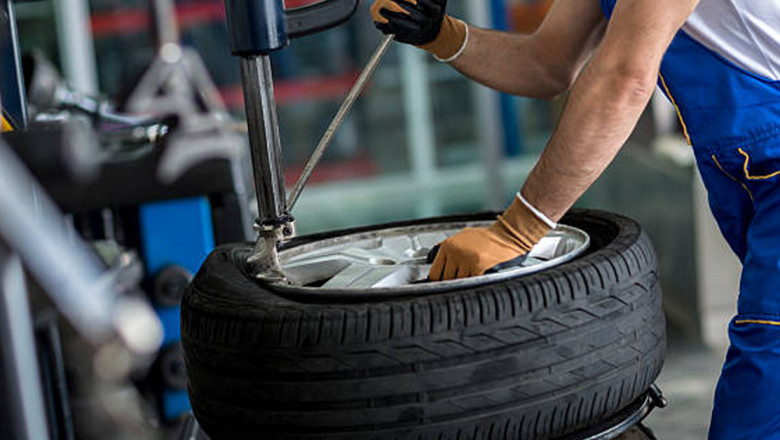
You must ideally know how to fix a puncture with an inner tube replacement if you drive on the road frequently. If not, you must read that first. Additionally, most bike riders believe that fixing a tire puncture means identifying the element that caused the hole. And then removing that element to fix the problem and resume the journey. Never patch a puncture without first carefully inspecting the tire.
There are two varieties of puncture kits: classic, with glue, and self-adhesive. While glue-based patches are more likely to result in a durable repair, self-adhesive ones are quicker to use at the side of the road. You could also use the best air compressor in India for your aid.
This should be the bike maintenance technique you learn if you only know one. Punctures happen to bikes. There is no way or car-modified accessories to prevent it from fitting solid tires entirely. Trust the experts; That is something you shouldn't do!
However, you can block holes to significantly reduce how often you need to use the puncture repair kit. You can achieve this with tires that feature both inner tubes with thorn protection strips packed with sealant.
Don't lose heart if you hear that hiss. Locating and sealing the hole is much simpler than you may imagine. You should always keep a few extra tires available in an emergency. For a puncture-free morning journey, you'll need the following items:
-
Additional inner tubes
-
Pump
-
Tire Levers
An excellent alternative is to get a puncture repair kit.
How to Fix a Puncture in Five Easy Steps
-
Take Off the Inner Tube and Wheel
This will allow you to find the wound. If it's difficult to see, check for bubbles by submerging the inflated tube in water. If they do, you probably only having a tiny hole the size of a pin. Find the hole and use a ballpoint pen to mark it with a large cross. The cross should be larger than the patch you're about to apply and centred over the hole.
-
Roughen the Inner Tube within the Hole
You could use sandpaper or a metal scuffer from the puncture kit. It would help if you considered roughening in an area larger than the patch used. Even though you can no longer see the cross you just drew, the outer borders will still be visible.
-
Use A Single, Thin Layer Of Vulcanising Solution
With your finger, apply glue to greater than the patch's size area, and then wait at least five minutes for it to dry. You can't mend your puncture unless it has received scorching. So please wait until it is.
-
Peel Backing from the Foil
Apply the patch after removing the foil backing.
Make sure to centre it over the hole.
Remove the support after pressing down hard for a minute.
Keep the patch's edges from any elevation by being careful.
-
Pump Up the Tube
You may determine how far the patch stretches by inflating the tube. Remove the patch and start over if there is a hole under one of its edges. You'll need to more thoroughly roughen the tube and give the vulcanising solution additional time to dry.
Dust the adhesive around the patch's edge to keep the inner tube from adhering to the tire's interior (chalk dust or talc).
If you are at home or have a puncture kit, you can get away with this. But it's not the best option if you're in the middle of your commute. The experts will now go over the five steps you can use to mend a puncture while commuting.
The Best Way to Repair a Bicycle Puncture Without a Spare Inner Tube
Bring some sandpaper, rubber solution, and puncture tape or foil if you're not riding a spare inner tube to work. If you acquire a puncture, proceed as described above. But instead of pulling out the burst inner tube, look for the puncture's cause.
This might be a thorn or a jagged rock, for instance. If the hiss isn't coming from the inner tube, try to identify its source by listening for it. Bring the inner tube to your mouth if you have no other choice. The air ought to feel like it is touching your lips.
Use the sandpaper to make the area around the whole rough once you've located the problem's origin. You can then apply the vulcanising solution thinly. Put some puncture tape across the hole or apply your foil to it once the key has dried. This will take at least five minutes. You should be good to go if there are no air bubbles.
You must ideally replace the inner tube as soon as possible because this solution is just temporary. Tire levers won't be available to everyone, either. If not, don't panic about how to fix a puncture. Tire removal by hand is still an option. A bit more work will be required of you.